Emergency Lighting Plan with DIALux
In this reference project, we use DIALux evo 10 to plan emergency lighting according to EN 1838. With just a few clicks, escape routes can be planned, anti-panic areas determined and emergency lighting scenes calculated.
Planning Situations
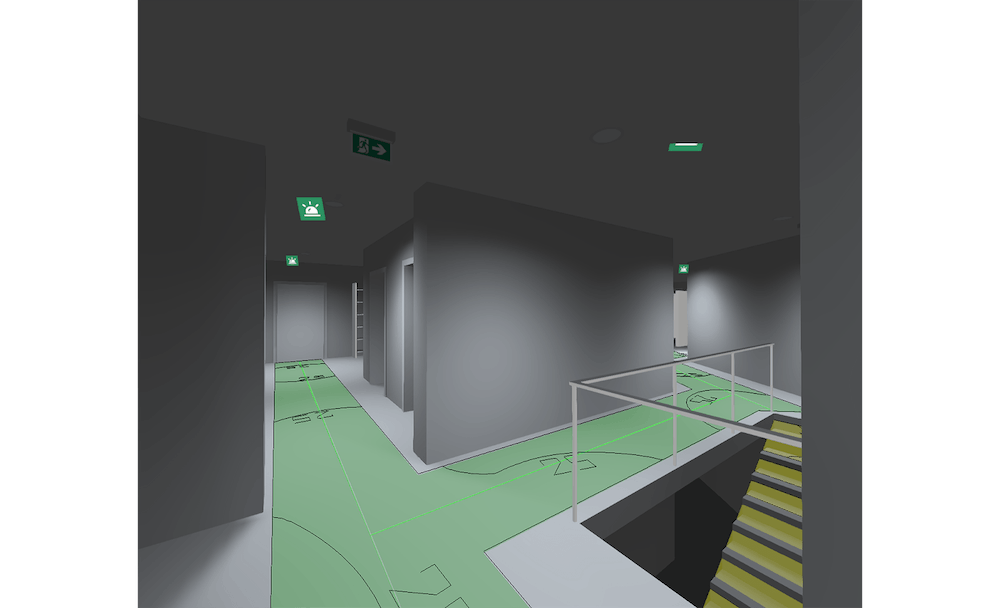
Emergency lighting is required if the general artificial lighting breaks down after a power failure. In this case it must be ensured that areas can still be left safely. The planners are primarily guided by the standard EN 1838: 2019-11 Lighting applications - Emergency lighting. Following situations must be considered for emergency lighting design:
• Escape routes
• Anti-panic areas
• High risk tasks areas
• Points of emphasis, e.g. stairs, first aid points and fire-fighting equipment (vertical areas)
How does the planning process work in DIALux evo?
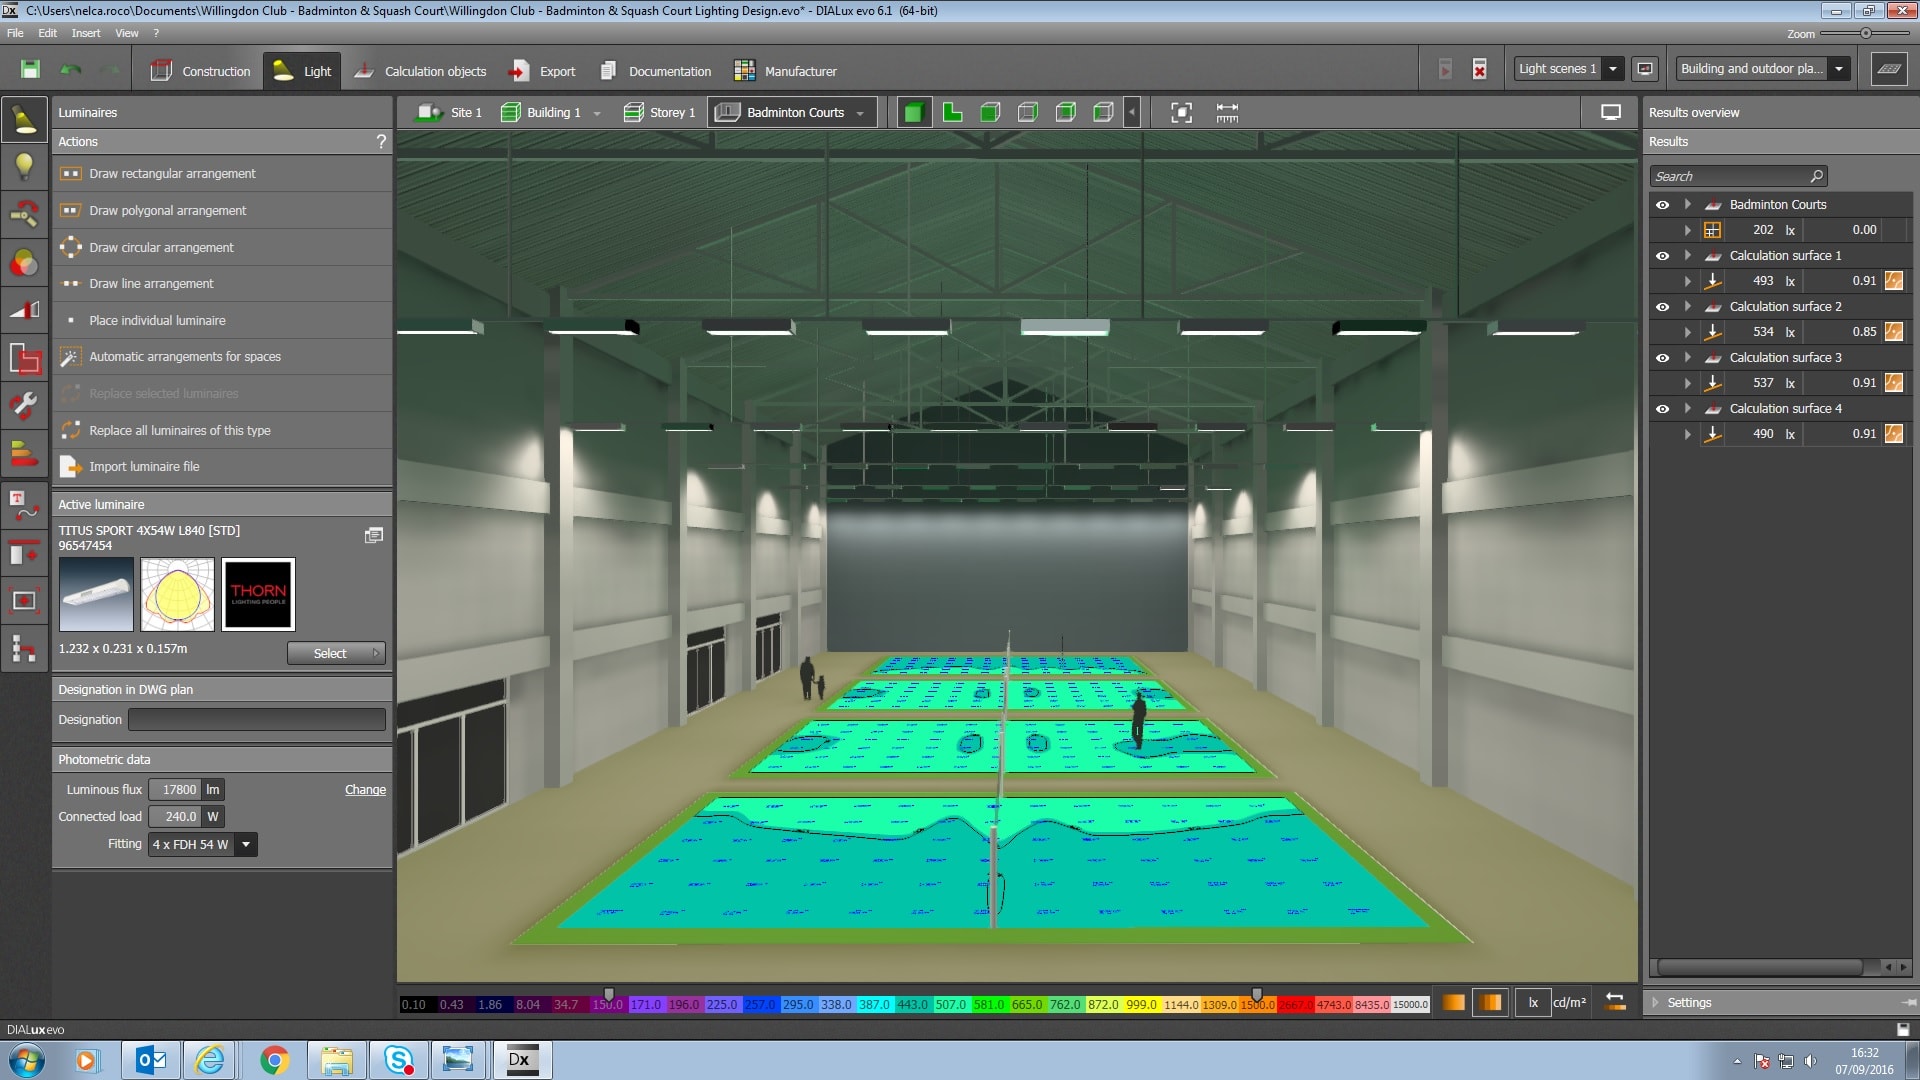
You construct a lighting design project in DIALux: Floor plans and sections assist you in realising the architecture and interior design. An IFC import of the already constructed 3D building is also possible. After all interior spaces have been designed, you can start with the emergency lighting.
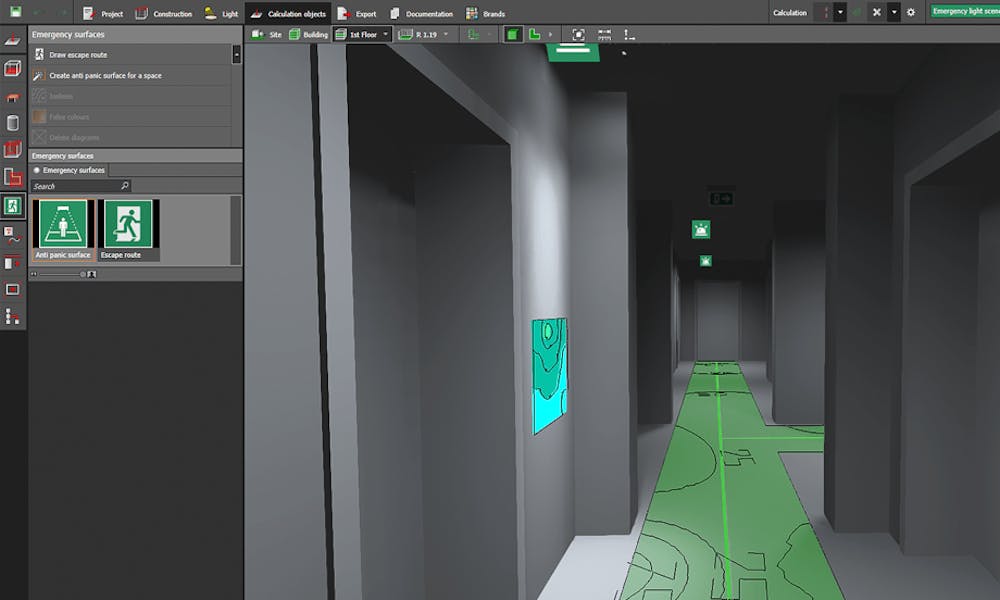
Step 1: Calculation objects - Emergency surfaces
First, select the Calculation objects mode and switch to the Emergency surfaces tool. Here it is possible to create an escape route or an anti-panic surface for an area.
You can create single and cross escape routes. Crossing escape routes are automatically combined into a complex calculation area. Each section can also be easily assigned its own width. With just a few clicks, an anti-panic area, including a freely definable edge zone, can be automatically generated for each room or area.
Several calculation objects for escape routes and anti-panic areas can be inserted in every type of room. If a polygonal shape of the anti-panic area is required or if several anti-panic areas have to be calculated in a very large room, planners can solve this by drawing manually created areas. Standard calculation objects can also be calculated in the emergency lighting scene. Therewith you can also provide normative proof for high risk task areas or points of emphasis, such as vertical surfaces and stairs.
Step 2: Light - Emergency luminaires
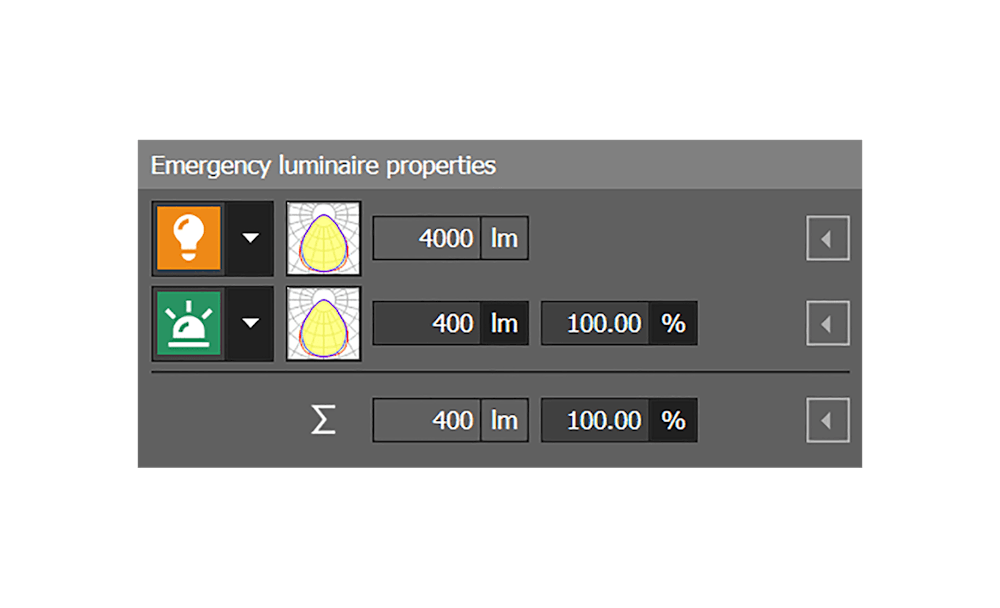
In the mode Light and under the tool Emergency luminaires, you can initially use any imported luminaire in DIALux for emergency lighting. The manufacturer can define light emission surfaces that are specifically provided for emergency lighting. This information is then automatically used by DIALux evo. If this data does not exist, you make the settings yourself.
You must determine the luminaires to be used as emergency luminaires and check the emergency luminaire characteristics on your own responsibility. The emergency luminous flux or emergency lighting factor can be set whereby the two values are converted into each other. In addition you can specify for each luminaire in the project if it is to be used only for emergency lighting, general lighting or for both cases. The luminaires in the general lighting scene and / or in the emergency lighting scene are calculated accordingly.
The emergency lighting scene is based on luminaire groups – DIALux divides the groups according to luminaire type and photometric properties. It is very easy to create your own luminaire groups and combine luminaires with the same properties in one group. A click on a luminaire group automatically selects the associated luminaires in the CAD and helps you to check the correct assignment. In addition, all emergency luminaires are also marked with a small symbol in DIALux. This helps you to keep an overview in every view.
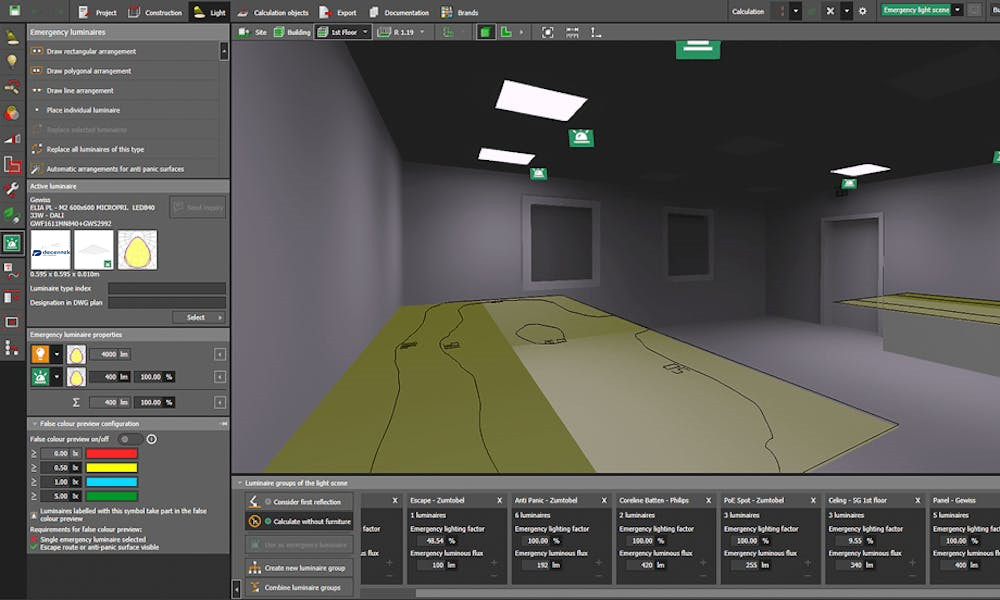
Luminaires for general lighting as well as emergency lighting
False colour preview: Visualise in real time
The false colour preview should always be activated. It reduces the planning time enormously. The reason is that this visualization is done in real time and directly displays the illuminance levels generated by the emergency luminaires on the calculation surfaces. A calculation is needless in this step and saves important time.
You have the required values, according to DIN EN 1838, on hand and can quickly and easily optimise the luminaire positions. The false colours show you the direct effect on the results as soon as you reduce luminaire spacing or add further luminaires.
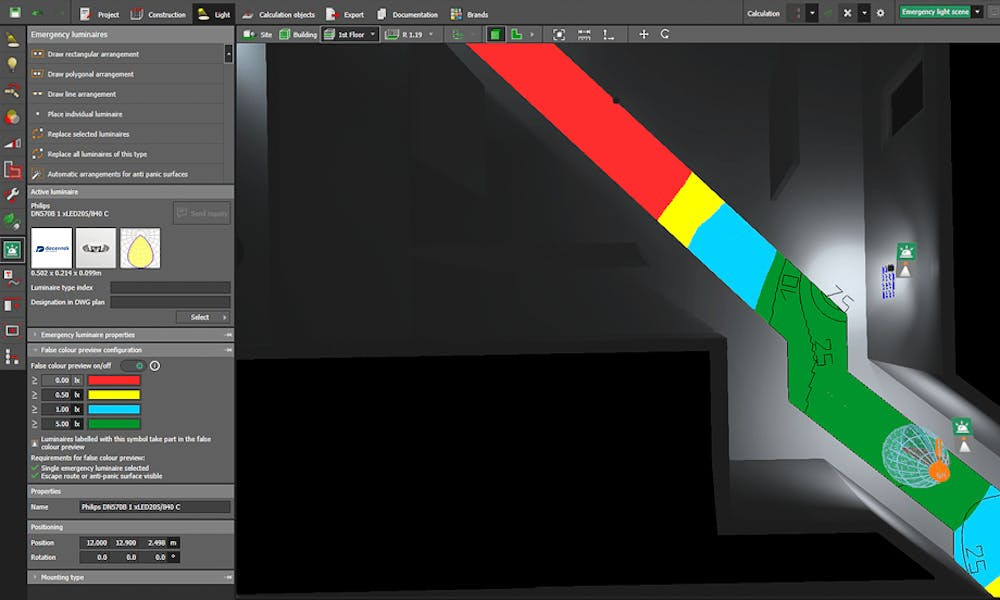
False colour preview in real time with two emergency luminaires
Step 3: Calculation and results
An important part is of course the standardised calculation. DIALux considers these requirements with special settings. For example, the consideration of the first reflection or the calculation of furniture can be set. In the standard setting, no furniture and no reflections from room surfaces are included in the calculation.
Another feature is the calculation settings. Under Calculation in the upper menu, all -light scenes or only the active one, i.e. selected light scene, can be calculated. This saves a lot of time during optimisation.
Once the calculation is complete, the results overview opens automatically on the right side. You can check all results directly. The result does not yet provide the required values? No problem, with the magnifier the CAD automatically jumps to the affected point with the fallen short value and marks this with a red cross. The annoying search for minimum values is no longer necessary.
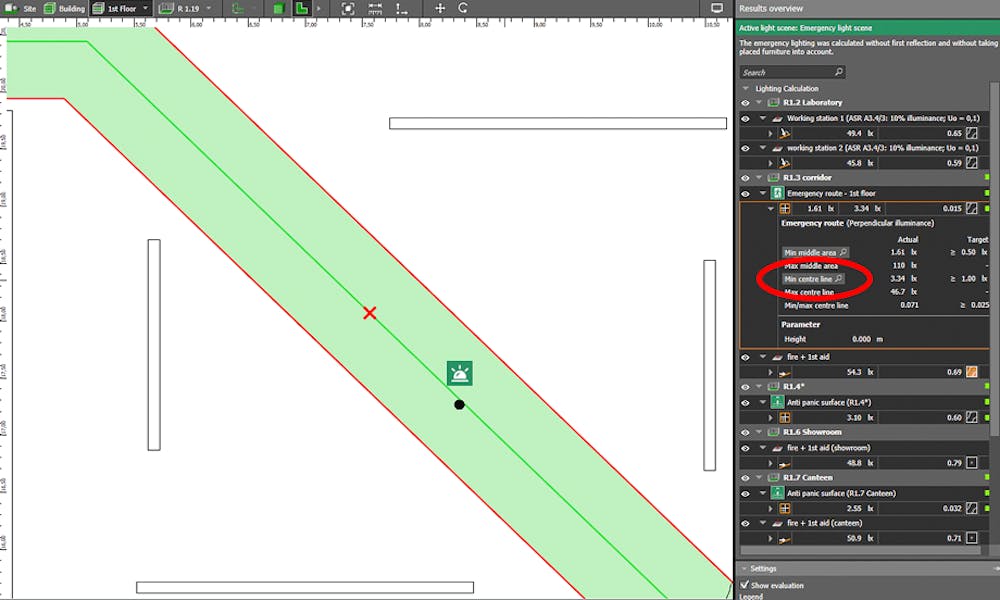
Minimum value display
Plan, calculate and visualize lighting for indoor and outdoor areas. From entire buildings and individual rooms to parking spaces or road lighting. Our engineers are ready to help you create a unique atmosphere with real luminaires to convince your customer with an individual lighting project.
Indoor Areas
• Plan light for complex architecture. From entire buildings with several floors to single rooms
Outdoor Areas
• Plan individual outdoor scenes like green areas, paths, parking spaces or road lighting
Artificial & Daylight
• Combine artificial and daylight for different light scenes and create a unique atmosphere
Light Distribution
• Get information about the light distribution by means of value graphics and false colors